
Why Set Up a Charging Station?
A dedicated charging station gives every device a regular place to recharge. Instead of searching for cables or using several outlets around the home, you can keep phones, tablets, earbuds, watches, cameras, and other electronics together in one organized area.
A well-planned station can also reduce clutter and make it easier to remember which devices need charging. Whether you create one on a kitchen counter, desk, nightstand, or entryway shelf, the basic setup is simple: choose a suitable location, gather the right equipment, organize the cables, and use the station safely.
Choose the Right Location
Start by selecting a location that is convenient, dry, and easy to access. The best spot depends on how your household uses its devices.
Popular locations
- Home office: Useful for laptops, phones, wireless headphones, and work accessories.
- Kitchen counter: Convenient for family devices, but keep chargers away from sinks, spills, and cooking areas.
- Entryway table: A practical place to charge phones and smartwatches when arriving home.
- Nightstand: Suitable for a phone, watch, or reading device used in the bedroom.
- Living room shelf: Helpful for shared devices such as tablets, game controllers, and remote controls.
Choose a surface with enough room for the devices you plan to charge. Avoid placing a charging station under blankets, inside tightly closed drawers, or near heat sources. Devices and charging equipment need airflow to stay at a normal operating temperature.
Decide Which Devices Belong There
Make a list of the devices you want to charge regularly. This helps you estimate the number of outlets, cables, and storage spaces required.
Common devices include:
- Smartphones
- Tablets and e-readers
- Laptops
- Wireless earbuds and headphones
- Smartwatches and fitness trackers
- Cameras and rechargeable batteries
- Game controllers
- Portable speakers and other small electronics
You do not need to place every device in one station. Larger electronics, such as laptops, may be more practical on a desk, while smaller items can share a charging tray or shelf.
Gather the Essential Equipment
A charging station does not need to be expensive. Begin with equipment that matches your devices and fits the selected space.
Power source
You may need a wall charger, a multi-port charging hub, or a power strip with enough outlets for your equipment. Choose products from reputable manufacturers and check that they are designed for the devices you plan to use.
A multi-port charger can reduce the number of adapters and cords on the surface. However, it should provide enough power for the devices connected to it. Some larger devices, especially laptops, may require a charger with a higher power output than a standard phone charger.
Charging cables
Gather the cable types used by your devices. Labeling each cable can make it easier to identify the correct one. If possible, choose cables with suitable length and durable connectors.
Avoid using damaged cables with exposed wires, bent connectors, or loose ends. Replace cables that show significant wear instead of continuing to use them.
Storage container or organizer
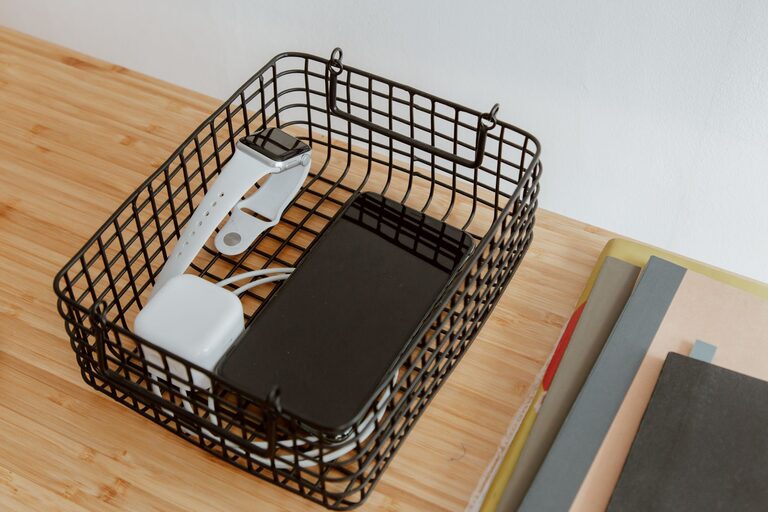
A tray, basket, drawer organizer, or desktop charging stand can keep devices in place. Look for an organizer with openings that allow cables to pass through without becoming tightly bent.
For a shared family station, consider using separate sections for each person or device type. This makes it easier to return items to the correct location.
Plan the Layout
Before connecting anything, place the equipment on the surface and test the arrangement. Keep frequently used devices in the easiest-to-reach areas.
Place the charger or power strip where it will not be pulled by the cables. If the power strip has a switch, make sure the switch remains accessible. Leave enough space between devices so they do not press against one another or block ventilation.
For a desk-based station, you can place the charger behind or beside the monitor. For a shelf or counter, a charging tray can keep smaller devices together while allowing cables to reach from the back.
Organize the Cables
Cable management is one of the most important parts of a useful charging station. Without it, even a small setup can quickly become tangled.
Simple cable management ideas
- Use adhesive cable clips to guide wires along the back or edge of the surface.
- Add reusable hook-and-loop ties to bundle extra cable length.
- Label both ends of similar cables.
- Use a cable box to hide excess wire and keep the area looking neat.
- Store rarely used cables in a separate container instead of leaving them connected.
- Choose cables that are long enough to reach comfortably but not so long that they create loops.
Do not sharply bend cables, place heavy objects on them, or run them across walkways. Leave a little slack near each connector so the cable is not pulled when a device is moved.
Set Up the Charging Station
Once the layout is ready, connect the charger or power strip to the wall outlet. Then connect the cables and place each device in its assigned space.
Follow these steps:
- Place the power source in a stable, ventilated position.
- Connect only the cables and adapters you need.
- Route each cable through a clip, organizer opening, or cable port.
- Label cables that look alike.
- Place devices in the tray or stand with screens and ports easy to access.
- Test each connection to confirm that the device is charging.
- Remove unused cables and store them nearby.
If a device does not charge, check the cable, adapter, and outlet separately. Try one change at a time so you can identify the source of the problem.
Follow Basic Safety Practices
A charging station should be convenient, but safety comes first. Keep liquids away from chargers, adapters, and connected devices. Do not cover charging equipment with clothing, paper, or other materials that could limit airflow.
Inspect the station occasionally for frayed cables, cracked adapters, unusual heat, or loose connections. Disconnect and replace equipment that appears damaged. Avoid overloading an outlet or connecting too many power strips together.
Use chargers and cables that are compatible with your devices. When possible, follow the device manufacturer’s recommendations. Keep the station away from areas where children or pets could pull on cords or reach small accessories.
Make the Station Easy to Maintain
A charging station works best when it is simple to use every day. Choose a clear rule for returning devices, such as placing them in the station after use or before bedtime.
Once a week, take a few minutes to:
- Remove devices that no longer need charging.
- Coil or straighten loose cables.
- Wipe dust from the surface and organizer.
- Check for damaged cords or adapters.
- Confirm that each cable is still connected to the device it serves.
Every few months, review the setup as your devices change. You may be able to remove unused cables, add a new charging port, or move the station to a more convenient location.
Final Thoughts
A dedicated charging station can make daily routines more organized and reduce cable clutter. Start with a suitable location, choose compatible charging equipment, and create a layout that keeps devices visible and accessible. With simple cable management and regular maintenance, your charging station can remain tidy, useful, and easy for everyone in the home to use.
About the Author